Create a RHElement
Prerequisites
Before you begin, make sure you’ve followed the Prerequisites in Getting Started.
The RHElement Generator
Use the RHElement generator to start the scaffolding process. From the root directory of the RHElements repository, run the following command.
npm run new
The generator will ask you a series of questions to set up your project.
Your element name:
- Your element’s name should be lowercase and needs to contain at least one hyphen. For rules on naming custom elements, refer to the W3C Custom Elements Working Draft.
- Red Hat prefixes elements with
rh-for global components and then namespaces web property specific ones likecp-for the Customer Portal. However, prefix your elements with whatever fits your project. - As an example, we’ll create
rh-cool-element.
Author name:
- Add your name
- NOTE: we will update the generator in the future to include an email address and GitHub profile.
Do you want to use Sass with this element? (Yes or No)
If yes to question #3, Do you want to use existing Sass dependencies? (rh-sass or No thanks. I’ll provide my own later)
- rh-sass includes the rh-sass node module with all of the mixins and variables used in RHElements.
After answering the questions, you’ll see something like this:
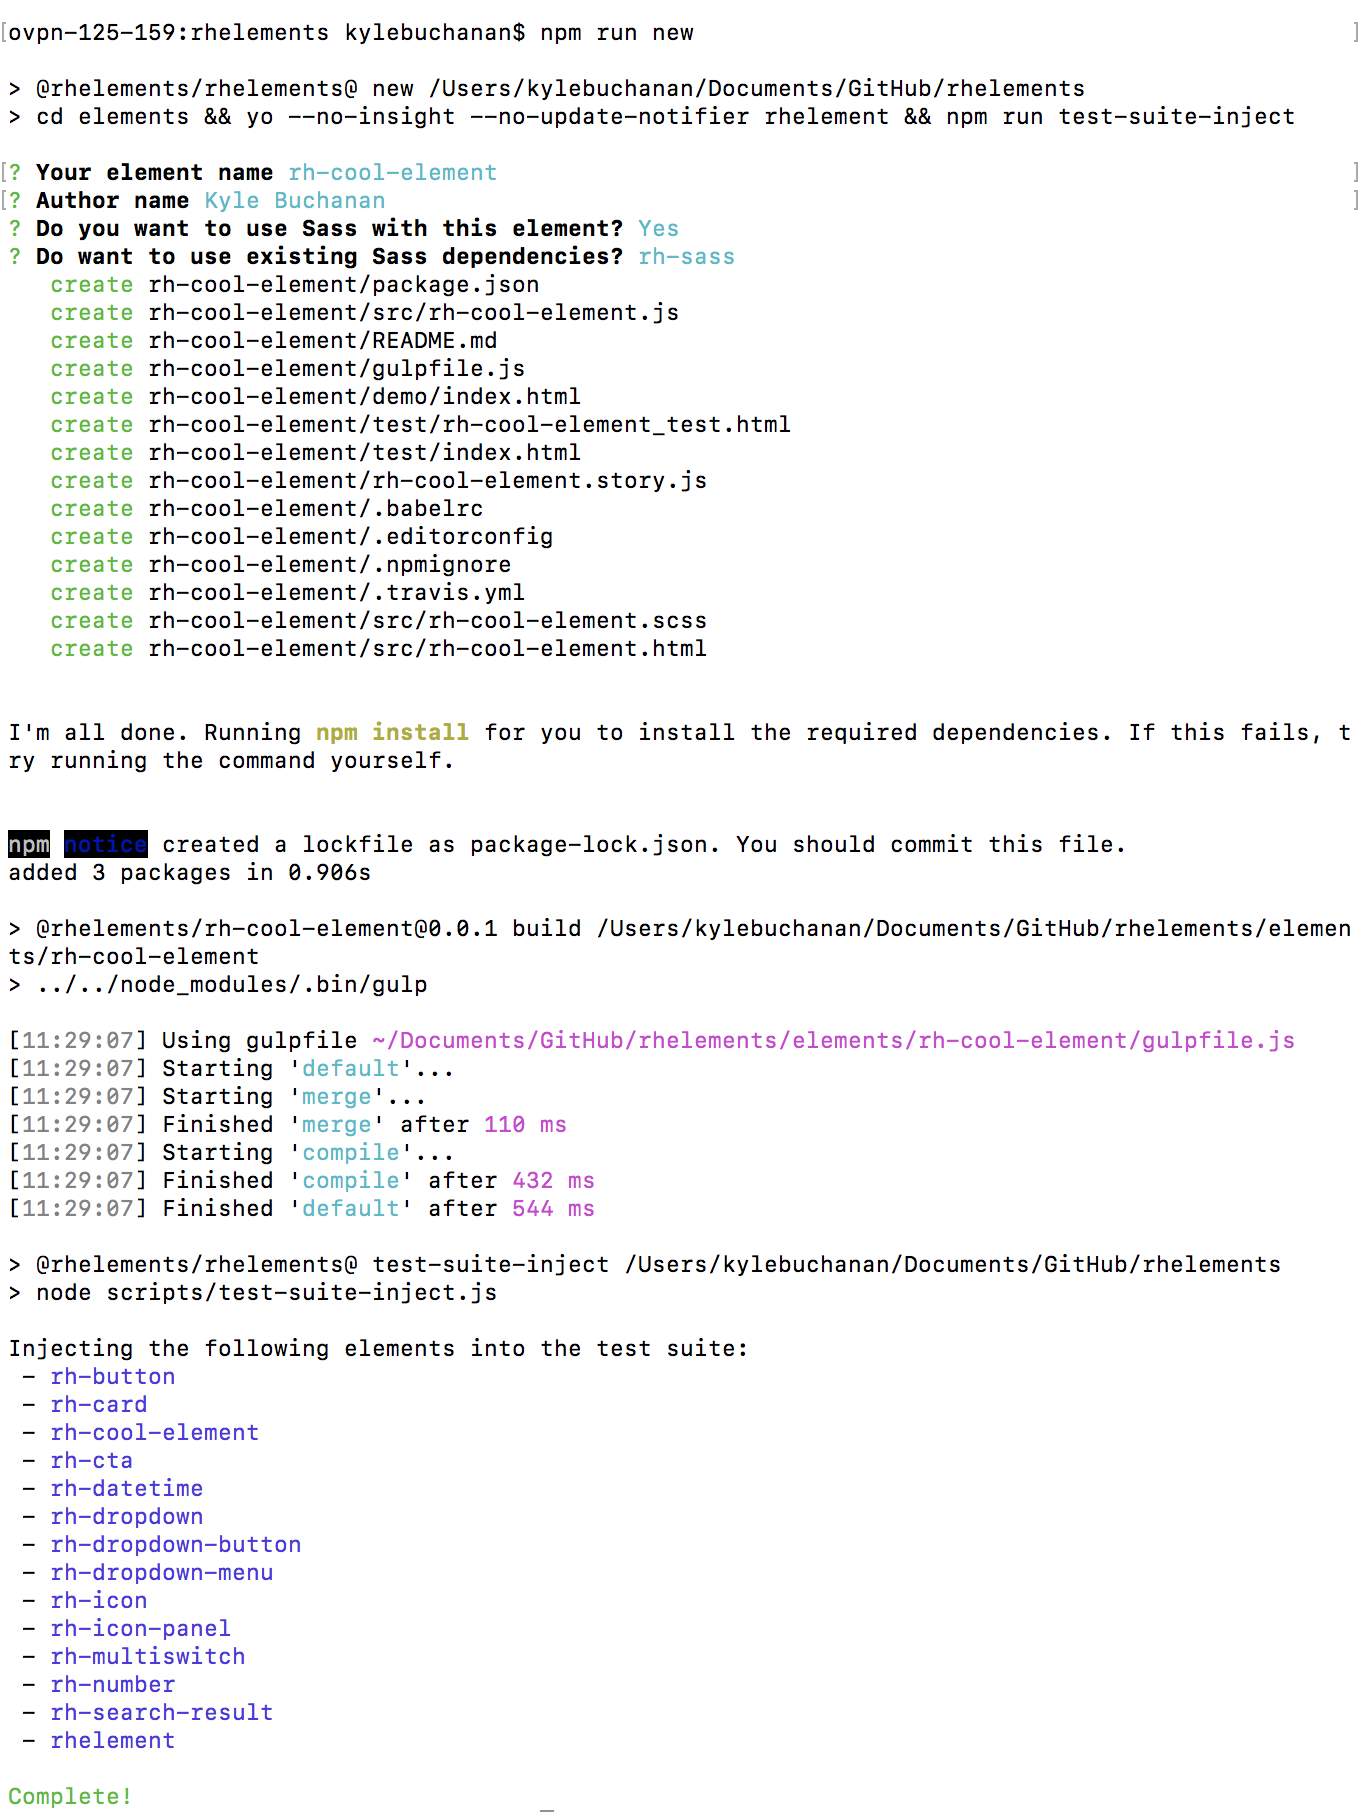
Once that’s done, switch directories to the element you just created. We’ll cd into the rh-cool-element directory.
cd elements/rh-cool-element
Open your code editor to view the structure of the element. It’s important to note the /src, /demo and /test directories and the rh-cool-element.js and rh-cool-element.compiled.js files. The /src directory is reserved for development and you can write tests in /test directory. Finally, the /demo directory lets you preview your element locally using the rh-cool-element.js and rh-cool-element.umd.js files.