Write tests
Let’s write a test for the rh-cool-element.
We rely on a few tools to ensure our element is reliable in production: 1. Web Component Tester, built and maintained by the Polymer team, makes testing easy. All we have to do is add the element’s HTML to a file and set up our suite of tests. 2. We’ll use the Chai Assertion Library to make sure our tests pass since Mocha and Chai are both included in Web Component Tester. 3. Finally, we integrate tests with Travis CI.
Web Component Tester
If you followed the Prerequisites in Getting Started, your setup should already be done.
Test Setup
In the root of the element, there’s a /test directory with an index.html and a rh-cool-element_test.html file. The index.html file tells Web Component Tester which files to test.
For this example, rh-cool-element_test.html is the only file.
<!doctype html>
<html>
  <head>
    <meta charset="utf-8">
    <meta name="viewport" content="width=device-width, minimum-scale=1.0, initial-scale=1.0, user-scalable=yes">
    <script src="/components/web-component-tester/browser.js"></script>
  </head>
  <body>
    <script>
      // Load and run all tests (.html, .js):
      WCT.loadSuites([
        'rh-cool-element_test.html'
      ]);
    </script>

</body></html>
We’ve included the web component polyfill and wct-browser-legacy/browser.js in the /test/index.html file. We need wct-browser-legacy/browser.js because Web Component Tester looks for web components loaded from a bower_components directory. However, our web components are installed via npm and served from a node_modules directory, meaning that we’re required to use wct-browser-legacy (Reference to the Node support section of the Web Component Tester README).
The setup for /test/rh-cool-element_test.html is pretty simple.
We’ll add four stubs for the functionality we need to test:
<!DOCTYPE html>
<html>
  <head>
    <meta charset="utf-8">
    <meta name="viewport" content="width=device-width, minimum-scale=1.0, initial-scale=1.0, user-scalable=yes">
    <script src="/components/@webcomponents/webcomponentsjs/webcomponents-bundle.js"></script>
    <script src="/components/web-component-tester/browser.js"></script>
    <script type="module" src="../rh-cool-element.js"></script>
  </head>
  <body>
    <rh-cool-element photo-url="https://avatars2.githubusercontent.com/u/330256?s=400&u=de56919e816dc9f821469c2f86174f29141a896e&v=4">
      Kyle Buchanan
    </rh-cool-element>

    <script>
      suite('<rh-cool-element>', () => {
        test('it should upgrade', () => {
          const rhCoolElement = document.querySelector('rh-cool-element');
          assert.instanceOf(rhCoolElement, customElements.get("rh-cool-element", 'rh-cool-element should be an instance of rhCoolElement'));
        });

        test('it should set a username from the light DOM', () => {

        });

        test('it should allow a user to follow a profile', () => {

        });

        test('it should set the state to follow if the following attribute is present', () => {

        });

        test('it should set a profile pic from the photo-url attribute', () => {

        });
      });
    </script>
  </body>
</html>
Note that we using <script type="module"... to load our element definition to make sure we’re testing the true source of our element instead of the transpiled version. You’ll also notice the HTML included to set up our tests. This is the same HTML from our /demo/index.html file.
Lastly, there’s one additional piece that can help us test thoroughly. In the root of the RHElements repo, locate the wct.conf.json file.
We’ll use this to tell Web Component Tester to test in both Chrome and Firefox:
{
  "verbose": false,
  "npm": true,
  "plugins": {
    "local": {
      "browsers": ["chrome"],
      "browserOptions": {
        "chrome": ["headless", "disable-gpu", "no-sandbox"],
        "firefox": ["-headless"]
      }
    }
  }
}
Now that our setup is complete, we can start building our tests.
Test Cases
Let’s build out the ‘rh-cool-element’ test suites. We’ll use document.querySelector to grab our element and include DOM API methods to interact with what we’re testing.
Here is the code:
<!DOCTYPE html>
<html>
  <head>
    <meta charset="utf-8">
    <meta name="viewport" content="width=device-width, minimum-scale=1.0, initial-scale=1.0, user-scalable=yes">
    <script src="/components/@webcomponents/webcomponentsjs/webcomponents-bundle.js"></script>
    <script src="/components/web-component-tester/browser.js"></script>
    <script type="module" src="../rh-cool-element.js"></script>
  </head>
  <body>
    <rh-cool-element photo-url="https://avatars2.githubusercontent.com/u/330256?s=400&u=de56919e816dc9f821469c2f86174f29141a896e&v=4">
      Kyle Buchanan
    </rh-cool-element>

    <script>
      suite('<rh-cool-element>', () => {
        test('it should upgrade', () => {
          const rhCoolElement = document.querySelector('rh-cool-element');
          assert.instanceOf(rhCoolElement, customElements.get("rh-cool-element", 'rh-cool-element should be an instance of rhCoolElement'));
        });

        test('it should set a username from the light DOM', () => {
          const element = document.querySelector('rh-cool-element');
          const elementLightDOMContent = element.textContent.trim();
          const shadowRoot = element.shadowRoot;
          const slotContent = shadowRoot.querySelector('slot').assignedNodes()[0].textContent.trim();

          assert.equal(slotContent, elementLightDOMContent);
        });

        test('it should allow a user to follow a profile', () => {
          const element = document.querySelector('rh-cool-element');
          element.button.click();

          assert.isTrue(element.hasAttribute('following'));
          assert.equal(element.button.textContent, 'Unfollow');

          element.button.click();

          assert.isNotTrue(element.hasAttribute('following'));
          assert.equal(element.button.textContent, 'Follow');
        });

        test('it should set the state to follow if the following attribute is present', () => {
          const element = document.querySelector('rh-cool-element');
          element.setAttribute('following', '');

          assert.isTrue(element.hasAttribute('following'));
          assert.equal(element.button.textContent, 'Unfollow');

          element.removeAttribute('following');

          assert.isNotTrue(element.hasAttribute('following'));
          assert.equal(element.button.textContent, 'Follow');
        });

        test('it should set a profile pic from the photo-url attribute', () => {
          const element = document.querySelector('rh-cool-element');
          const photoUrlAttribute = element.getAttribute('photo-url');
          const shadowRoot = element.shadowRoot;
          const profilePicContainer = shadowRoot.querySelector('#profile-pic');
          const backgroundImage = profilePicContainer.style.backgroundImage.slice(5, -2);

          assert.equal(photoUrlAttribute, backgroundImage);
        });
      });
    </script>
  </body>
</html>
You may notice we’re accessing the shadowRoot here, available to our element by extending RHElement in the definition of our element. You can also access content in the <slot></slot> of your element by using the assignedNodes() method.
We use a slot for the username in rh-cool-element, making it available to us in the array returned by assignedNodes().
shadowRoot.querySelector('slot').assignedNodes()[0].textContent.trim();
Run the Test
Lastly, we can run the test command below to see how we did.
npm test
Here is the command line output:
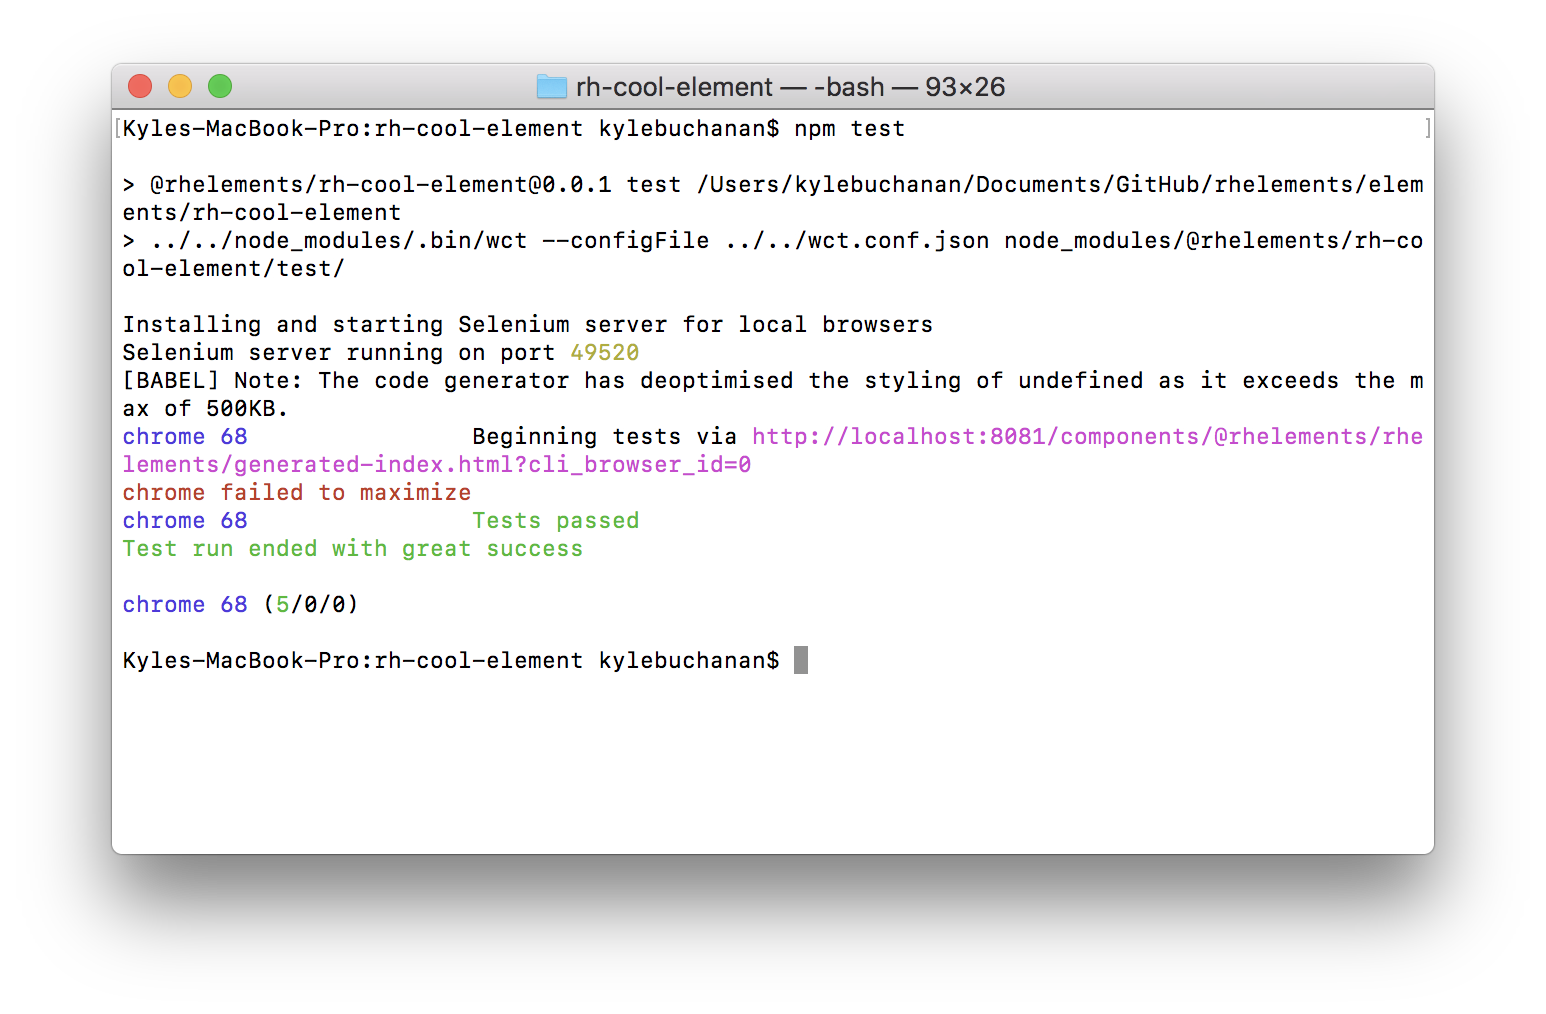
Nice! All four tests are working in Chrome and Firefox.
Travis Integration
That’s it for testing, but you can also set up continuous integration on Travis CI to run tests for every push to your repository to keep track of future updates.
Now that we’ve created our rh-cool-element and all of our code passes, the final step is to publish and share your component on npm!