Develop a Structure
Run the dev command found in the package.json file at the root of your element to start watching for changes to any files located in the /src directory. This will build rh-cool-element.js and rh-cool-element.umd.js whenever you save changes.
# from the root of your element
npm run dev
After running the dev command, start a server at the root of the RHElements repository to view it in the browser.
# from the root of the RHElements repository
npm start
This will start a simple HTTP server that reloads the browser as you update your element.

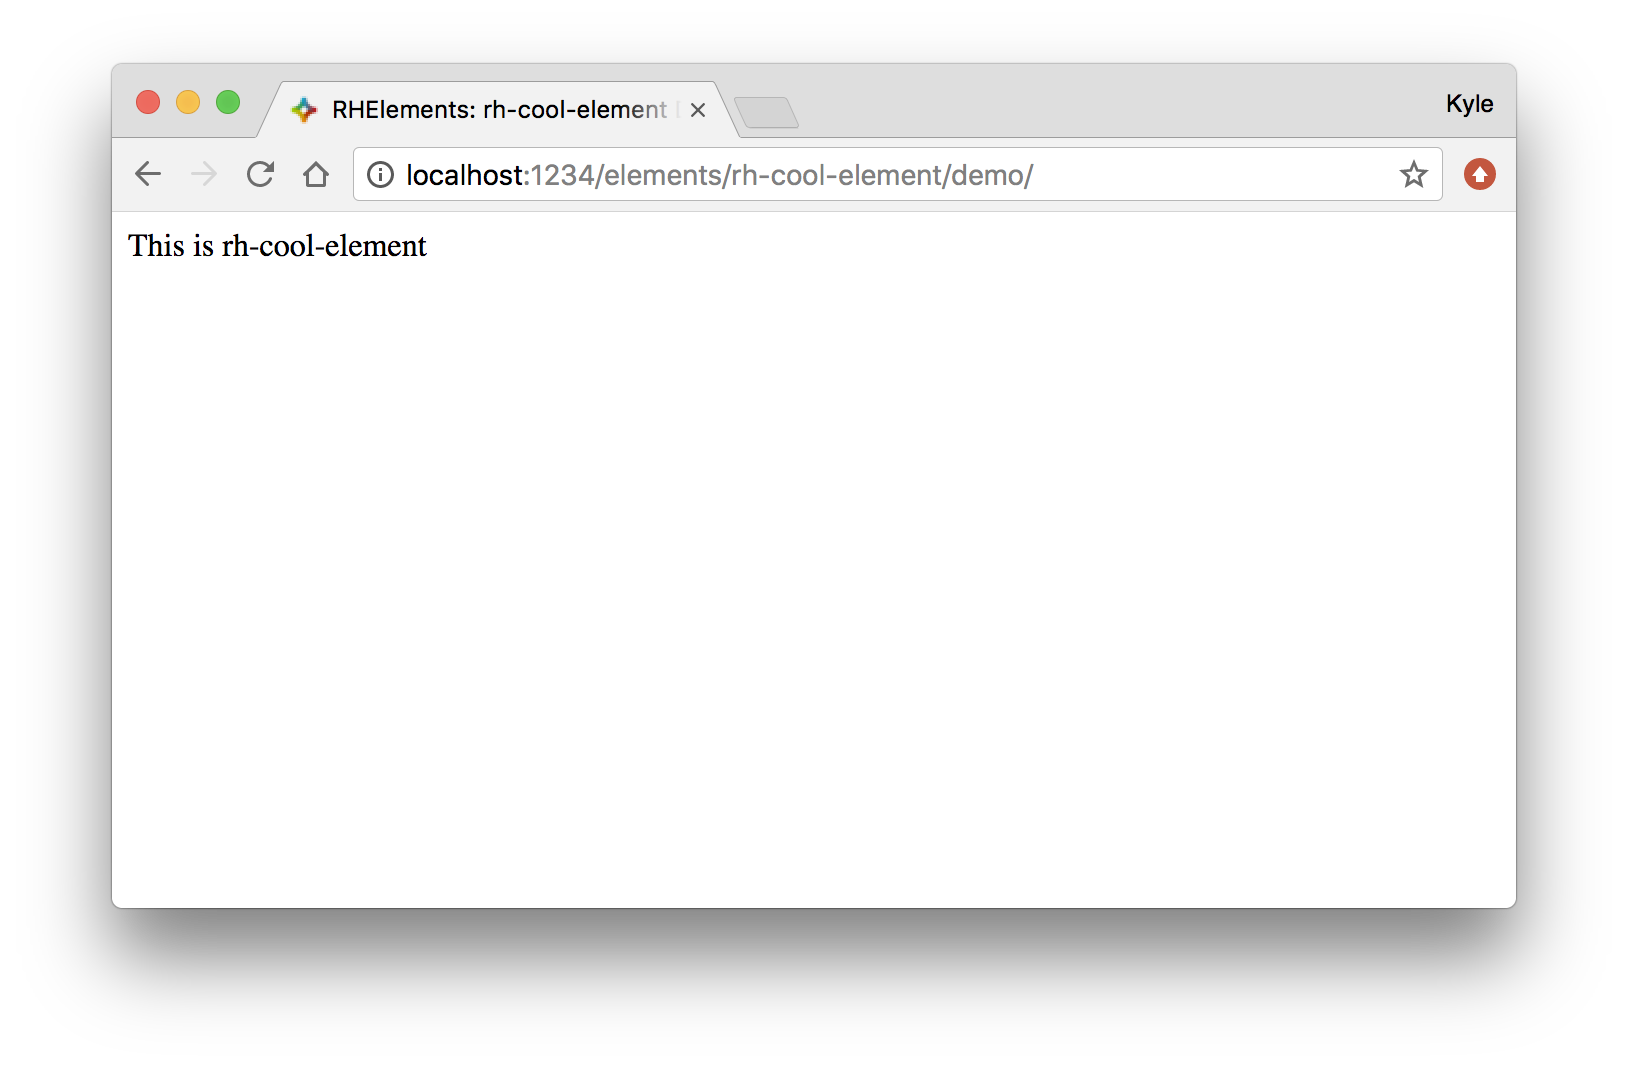
Navigate to http://localhost:1234/elements/rh-cool-element/demo/ to view your element.
You’re off to a good start! You have a new custom element that extends the base RHElement class, uses shadow DOM, and has a built-in fallback for ShadyCSS in case shadow DOM isn’t supported.
Let’s take a look at the rh-cool-element.js file in the /src directory to see what we have.
import RHElement from "../rhelement/rhelement.js";

class RhCoolElement extends RHElement {
  static get tag() {
    return "rh-cool-element";
  }

  get templateUrl() {
    return "rh-cool-element.html";
  }

  get styleUrl() {
    return "rh-cool-element.scss";
  }

  constructor() {
    super(RhCoolElement.tag);
  }
}

RHElement.create(RhCoolElement);
First, notice how we’re using ES6 module imports and that we import the RHElement base element.
import RHElement from '../rhelement/rhelement.js';
Second, we define the string for the HTML tag that we want to use.
static get tag() {
  return "rh-cool-element";
}
Third, we reference where the HTML for our template and Sass styles are located.
get templateUrl() {
  return "rh-cool-element.html";
}

get styleUrl() {
  return "rh-cool-element.scss";
}
The gulp merge task in gulpfile.js fills this section with the compiled and transpiled files when you edit a file in the /src directory.
Fourth, you’ll see the constructor for the element.
constructor() {
  super(RhCoolElement.tag);
}
The RHElement base element creates a shadow root to handle the ShadyCSS work for browsers that don’t support shadow DOM.
Finally, we register our element using the create method from the RHElement class. This method calls window.customElements.define.
RHElement.create(RhCoolElement);
For questions on how Custom Elements work, or if you want to learn the basics of shadow DOM, check out Eric Bidelman’s post: Custom Elements v1: Reusable Web Components.
Now that our dev server is running and we have our element’s structure, let’s make it actually do something.